Kitchen
painting the gables in my kitchen

Kitchen
painting the gables in my kitchen
At the risk of boring you to tears, I'm going to share the next step in my condo makeover: Painting the gables in the kitchen. If you've been following along, you'll know that
Lisa and I decided to get my honey-coloured wooden cabinets lacquered white for a clean, bright look to better match my fabulous new
Tarkett flooring. Tim Welsby from
Beresford Inc. came and removed my cabinet doors and drawers in order to get the job done in his furniture restoration studio. I can't wait to see how they turn out! But once the doors were removed, I realized that there were still portions of wood trim that would need to be painted. Tim was willing to do it (for a price!) but I decided to give it a go myself. Oh boy. Thankfully, Tim was kind enough to provide clear instructions. He provided me with a small vial of trisodium phosphate with which to clean the wood. This cleaner quickly and easily removes any grease build-up that may be on the wood and gives the wood a much better surface for painting. Next step: Lightly sand the wood. Then prime. The primer needed to dry for about three hours so I haven't painted yet but here's where we're at:
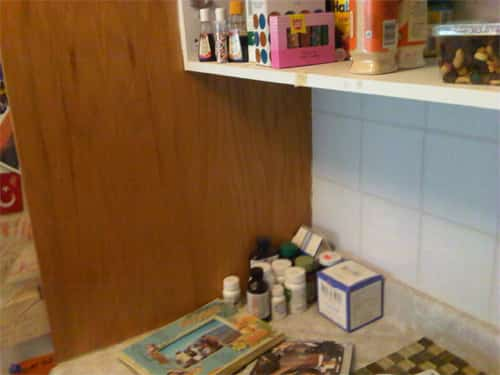
 Before:
This was the largest section of wood that needed to be painted.
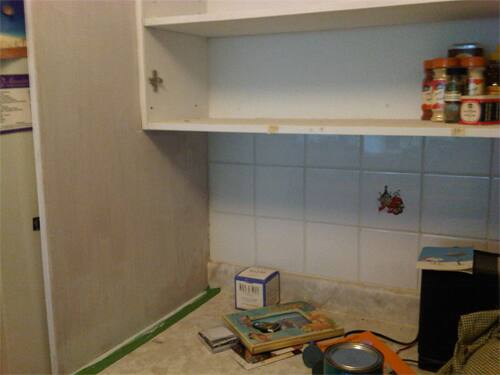
  After:
Here it is cleaned, sanded and primed. Please, please, please don't let me mess this up!
 Before:
This was the largest section of wood that needed to be painted.
  After:
Here it is cleaned, sanded and primed. Please, please, please don't let me mess this up!


Comments